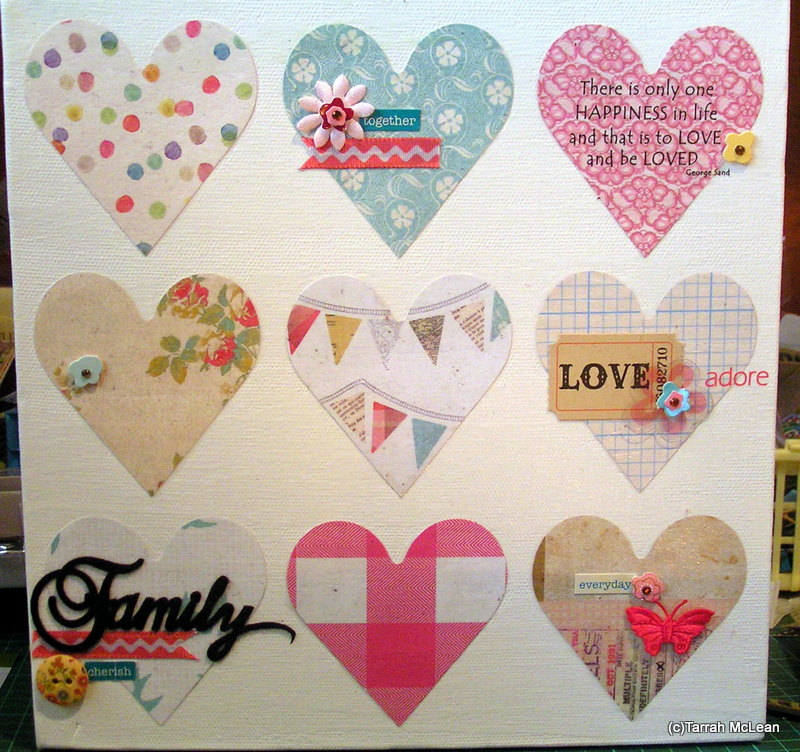
Have you
always admired photos printed onto a canvas but thought it was too hard? Well
it’s super easy with the help of X-Press It Triple Tac!
To start you need to gather the following materials:
-One X-Press
It Canvas
-Your photo
printed onto ordinary office paper, printed big enough to cover the top/ top
and sides
-A Jar of
X-Press It Triple Tac
-A Foam
Brush
-Paper Towel
-Water
-Black Paint
(optional)

Prepare your image. Print your photo onto white office paper. I reversed my image before printing, so it would look the same as my original photo. I used a laser jet printer but it also works with ink jet. Make sure the size of your printed photo is appropriate for your canvas. You can either make it large enough to cover the top of your canvas, or you can wrap it around the sides.

Using your foam brush paint a generous layer of X-Press It Triple Tac onto your canvas. If you wrapping the image around the sides, make sure you coat the sides of the canvas too.
Next lay your
canvas on top of your paper- with the coloured side facing the canvas. Make sure all of the paper is in contact with
the canvas; otherwise your final image will have bare patches. Cut the corners
of your paper, to make folding the edges easier and glue the paper on the sides
of the canvas. Allow to dry.

When your image is completely dry, you need to wet the paper. I like to lay mine in a very thin layer of water (Less than ½ a centimetre) for about 30 seconds. Lightly spraying the paper with spray bottle also works.

You will
start to see your image coming through. Gently rub the paper until it begins to
pill. Make sure you are not too rough as this will start to remove your photo. You may need to re-wet the canvas from time to time.

Continue removing the
paper, I keep a soft cloth or some paper towel handy to wipe off the pilled
paper. When you are satisfied that you image has come through clearly, allow
the canvas to dry completely.When the
canvas is dry, your image may look a bit cloudy, this is normal! If it looks
very white you can repeat the previous step and re-wet the canvas to remove
more paper. However I usually find that the cloudiness goes away as soon as you
complete the next step.

Using your
foam brush, coat your dry canvas with a thin layer of Triple Tac. If you would
like a smooth finish, make sure your strokes are even. If you would like a
brush effect, go nuts! Let the Triple Tac dry completely and add a second coat.
Depending on the look you are going for, your second coat can be thicker than
the first.

If you have wrapped the image around the sides of the canvas and you are happy with how it looks, then you are done! If you left the sides bare, then now is the time to paint the sides. I painted the sides of my canvas with black paint, to make my image pop.

We hope you enjoyed this X-Press It tutorial. Keep an eye on this blog for more great ways
to use your favourite X-Press It products.