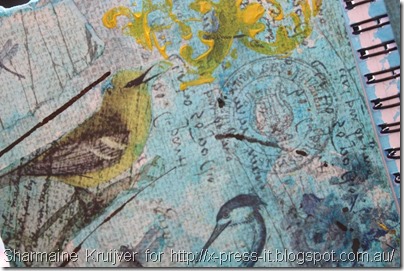
Wednesday, July 31, 2013

Collage Journal Page

Hi all,
Sharmaine here, sharing a page out of my X-Press It Blending Journal.
The very first thing I did was pulled out the supplies I wanted to play with.
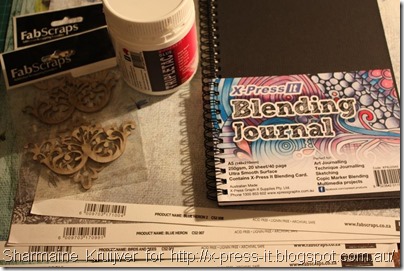
IMG_8467

I’ve used:
X-Press It Blending Journal
X-Press It Triple Tac Glue
FabScraps papers (from the Enchanted Garden range): Blue Heron, Blue Heron 2, Birds & Bees, Birds & Bees 2.
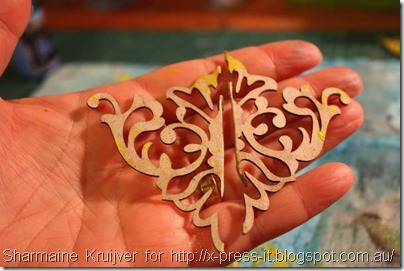
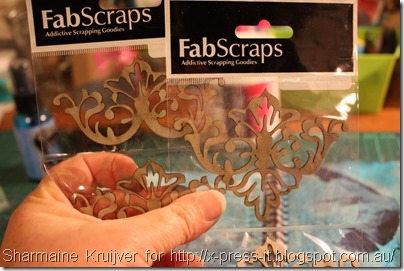
FabScraps chipboard: Decor Corner #1, Decor Corner #2

The first step was to cover a page with Triple Tac and stick down some paper
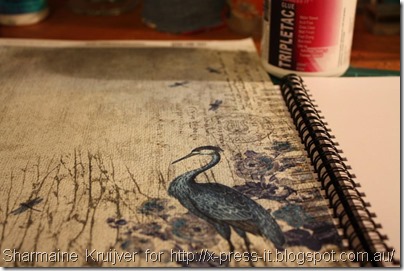
IMG_8468

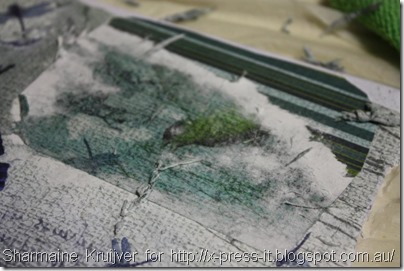
I then ripped off the excess paper, from around the edge of the page.

IMG_8469

I repeated this for the other side of the journal.

IMG_8472

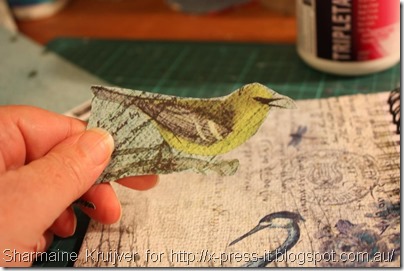
I then cut out some of the birds, found on the pattern paper,

IMG_8470

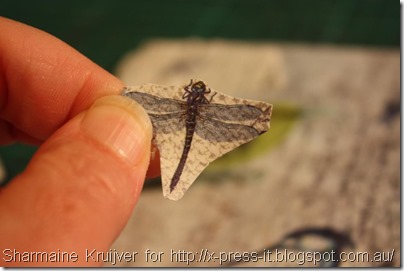
and some of the other winged creatures.
These were then added to the pages.

IMG_8473

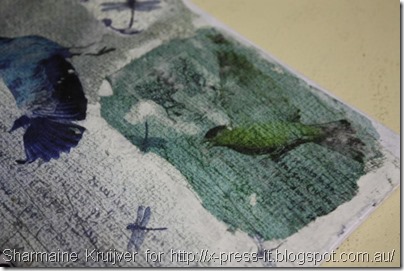
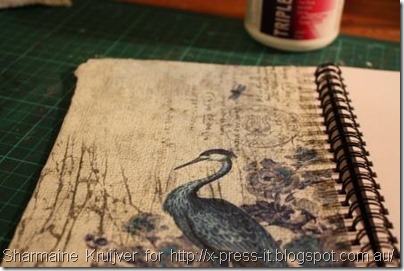
I used the Triple Tac as a Transfer Medium to add this bird,

IMG_8474

so he was facing the way into the journal, rather than out.

IMG_8475

You can read more on this process in Edna’s post, found HERE.
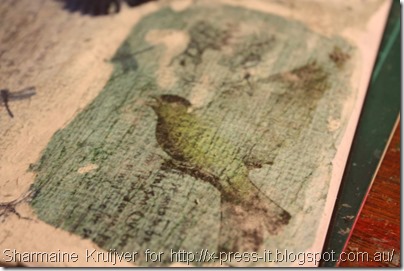
IMG_8476

So now the base of my journal page was complete.
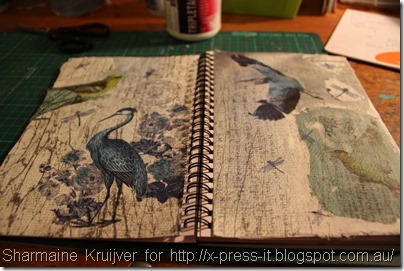
IMG_8477


I then gave the 2 pages a wash with some diluted blue ink, making the pages uniform.
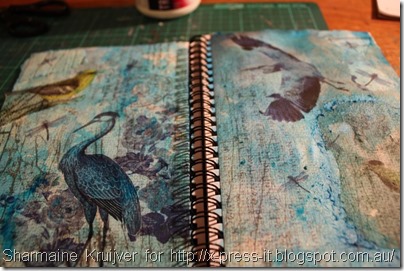
IMG_8479

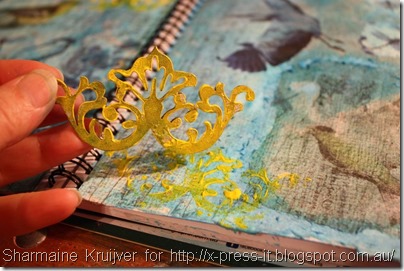
The next thing I did was use the FabScraps chipboard as a stamp

IMG_8480

Which is simple done by coating the chipboard with paint and stamping.

IMG_8481

The other chipboard I cut in half

IMG_8482

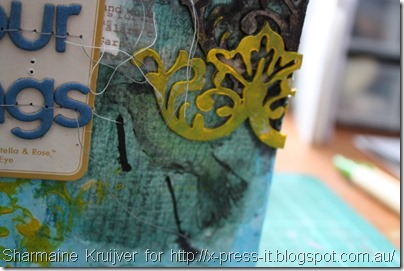
and added to the side of each page, using the Triple Tac to adhere.
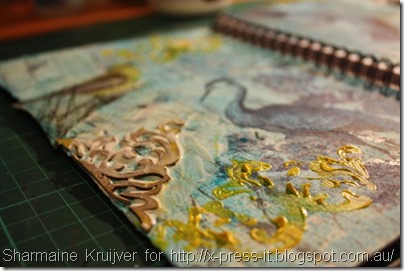
IMG_8484

I also used the painted chipboard, cutting this up too.
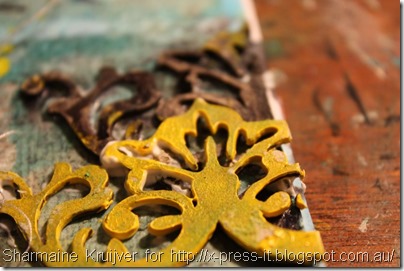
IMG_8485

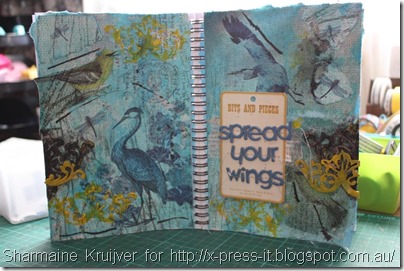
I then added my “title” and the pages were finished.
IMG_8486

Love the depth created by the layers

IMG_8488

and the gorgeous images.

IMG_8489

I hope this inspires you to pull out a journal, glue and papers.
I hope this inspires you to play with collage.
I hope this inspires you to be creative today.
Thanks for stopping by.
Sharmaine

Pin It

Wednesday, July 17, 2013

A Fabby Cup of Tea

This week's post focuses on the very lovely Teapot Chipboard Album by FabScraps, it's a great size for a little mini album, I have used mine to house recipes that are fit for a High Tea, a little gift for a friend of mine who is entering the world of baking... here is what I used in the recipe for this little book of loveliness:

 I used X-Press It TripleTac to secure the paper to the chipboard pages

I wanted a pretty shabby look, so I opted to file the excess paper from the edges of each album page, it's a little tricky on the curves, but the result is worth it

Then it was time to build some flowers from the fantastic pre-cut flower range from FabScraps, you can achieve a bucket load of looks with these flowers from flat to scrolled to scrunched, mine have a half rolled, half scrunched look.  For one flower I used all four sizes of the flower in a stack, and then one with the 3 smallest flowers and one with the 2 smallest flowers.  I rubbed the flowers into a foam mat to loosen the fibres and then added some curl and pinches to each layer

Then I built up the layers with X-Press It Clear Gel Glue, adding little beaded centres, the beads stack really nicely with the Clear Gel Glue, I love this technique.... and you can see the little leaves in the photo too, I coloured them with a Copic Marker... these come together really nicely thanks to the little sheet of petals and leaves from FabScraps, they come in a great array of colours, but the cream seemed perfect with the pink cover I chose...

Next it was on to a bit of Chipboard for the front of the album, the scrolls come with the Teapot Album and I added a matching Afternoon Tea word from the FabScraps Range... easily coloured with my trusty Copic Markers

To add to the shabby feel, I applied some paint with a rubber stamp, randomly across the cover, rubbing excess paint around the edges of the album front, and across the chipboard elements

Then it was a case of putting all the elements together with Clear Gel Glue, it's great to apply and then move into the exact spot, there is a little give time with this Glue and then it dries in a snap!!


Here are the products I used in my project today:

X-Press It TripleTac
X-Press It Clear Gel Glue
FabScraps Summer Teapot Album
FabScraps Afternoon Tea Word
FabScraps Paper Raspberry 
FabScraps Paper Strawberries
FabScraps Fresh Cream Roses

And here is my finished album, all ready for me to add my sweet recipes...


I hope you like the combination of the Fresh Cream Roses and the Teapot Album... now I'm off to eat some of the treats I made for the inside of this gift, enjoy!!
Pin It

Wednesday, July 3, 2013

Copic/Pencil Holder...using FabScraps Products....

Hi everyone!!

It's Tarrah here with you today! I wanted to create a different project this month, rather than create my usual layouts that I always create, I decided to create a pencil holder from a tin can.....here is how I created it...

Firstly I got some supplies together including a washed
 out tin can with the outside sticker peeled off also...

FabScraps products used:


Apply a generous amount of X-Press It Triple Tac to all
 the outside of the tin can using a paint brush....carefully adhere
 the FabScraps Christmas Star Sparkles paper white the Triple Tac is wet.  

cut two strips measuring approximately 1 inch x 8 inches.

Scallop the edges of the Milkshake Strawberry strips using a border punch

Using some X-Press It Double Sided Tape, adhere one 
of these pieces with some around the very
 top of the tin can with the scallops pointing down..

Adhere the other piece to the bottom of the
 can with the scallops pointing upwards...

Trim a strip of paper from the 
measuring approximately 2 inches x 8 inches,
adhere this piece around the middle of the can

Take a large rose from the FabScraps Blush Roses and
 a slightly smaller one from the Sepia Roses also get 4 of the
 leaves from the Delicate Green Roses pack also...

Assemble a flower embellishment using the two roses, 
once you add the metal flower and brad, curve the edges
of the petals for more definition.  

Tuck the leaves behind the flower and you
 have a lovely embellishment ready for any project... 

Finally adhere the flower embellishment to the centre
 of the tin can overlapping the Milkshake Strawberry strip of paper

This is the finished project... 

it is perfect to hold some craft tools, pencils, Copics,
whatever you choose!!

See how easy it was to create something useful and pretty all at once!!
I hope you use your X-Press It adhesives and FabScraps products for your next project!
Thanks so much for stopping by the X-Press It blog today...take care...
Tarrah x
Pin It