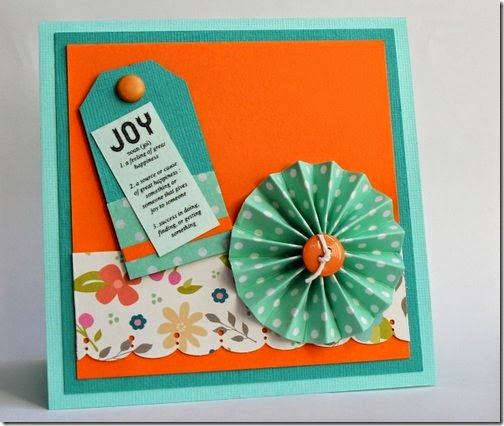
Hello! It’s Robyn Wood with you today sharing my first project on the X-Press It blog and I’m so happy to have been invited to join the team! I’m really looking forward to inspiring you. You can learn more about me in the welcome post on the Inspiration Lane blog.
My card today features X-Press It Double Sided Adhesive Sheets. These handy, sticky sheets are perfect to use when you need to stick tissue paper or lightweight paper as I have done for this project. The sheets come in a handy A4 size so are perfect for projects of all sizes.
The first step is to create a rosette which will be a feature on the card. Usually I would only create rosettes out of cardstock or heavy weight paper but this little trick with have you using our gorgeous Hazel & Ruby tissue paper as well!
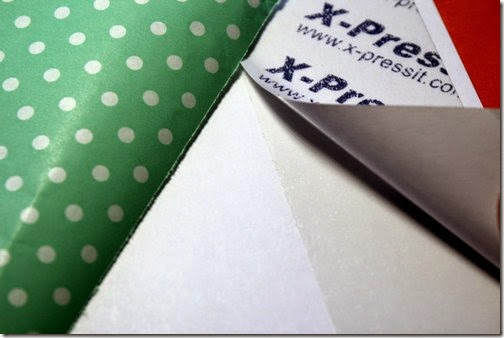
· Trim a strip of X-Press It Double Sided Adhesive Sheet approx 4 cm wide from the long edge of the sheet. Expose one side of the adhesive and adhere to the long edge of Copic Blending Cardstock. Expose the second side of the adhesive and adhere a strip of Hazel & Ruby tissue paper cut to the same size. Trim the strip to 3 cm wide. The extra width in the beginning allows you some room to line up the pieces. The flimsy tissue paper is now reinforced by the cardstock making formation of the rosette easy.
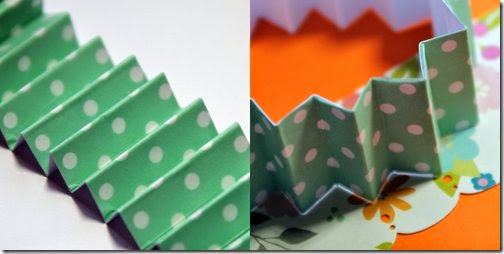
· Score along the strip in 1 cm increments and then fold to make a concertina. Bring the ends together, making sure you match the folds and adhere with double sided high tack tape.
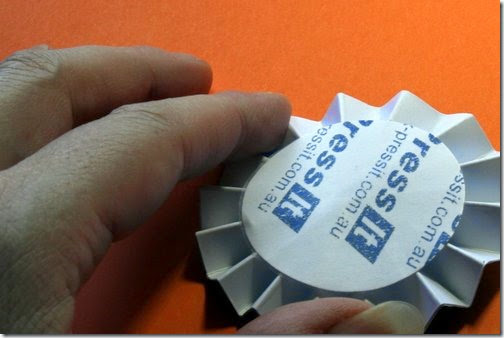
· Punch a 1 ¾” circle from the Double Sided Adhesive Sheets, remove one side of the adhesive and carefully set aside. Form the rosette by pushing the edges together into a circle shape and adhere using the punched circle of adhesive.
· Make a second strip about 4 cm wide using the Hazel & Ruby Pretty Floral paper and the technique described above. Use a border punch to give a decorative edge.
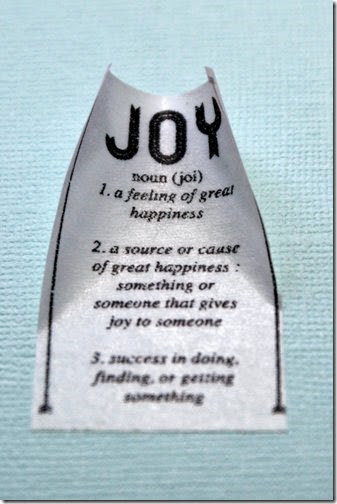
· Select a definition from the roll of Hazel & Ruby Define It Fat Roll Washi Tape and adhere to some coloured cardstock which tones with your base colours. Trim closely.
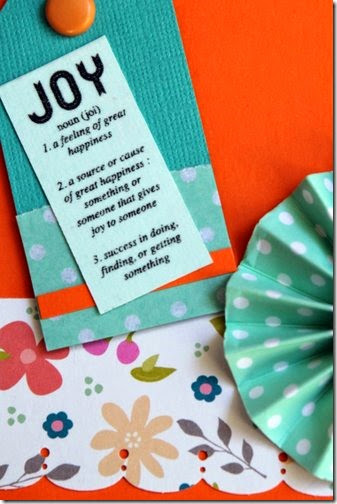
· Create a small tag approx. 4 cm x 7.5 cm using cardstock scraps and add a brad in place of a hole. Add some Double Side Adhesive Sheet to the back of a scrap of tissue paper that has been cut to fit the bottom of the tag. Tear one edge and adhere to tag. Overlay with a scrap of layer colour and trimmed definition.
· Using a 14 cm square card base, assemble card as shown. The tag is raised with X-Press It 6mm Foam Tape High Tack. A button tied with twine finishes the card.
Supplies:
X-Press It A4 Double Sided Tape Sheets
X-Press It 6mm Double Sided High Tack Tape
X-Press It 6mm Foam Tape High Tack
X-Press It Clear Gel Glue
Copic Blending Cardstock
Hazel & Ruby Pass the Tissue Teal Then/White Polka Dot
Hazel & Ruby Wrap It Up Pretty Floral Paper Roll
Hazel & Ruby Define It Fat Roll Washi Tape
Other – border punch, cardstock, brad, button & twine
I hope you have enjoyed learning how this project came together and one of the ways to use X-Press It A4 Double Sided Tape Sheets!
Robyn Pin It

