Wednesday, November 19, 2014

Sticky Barc and it’s endless uses

Have you used Sticky Barc before?
I hadn’t and I was curious to know just what it could do.
So I gave it a test drive.
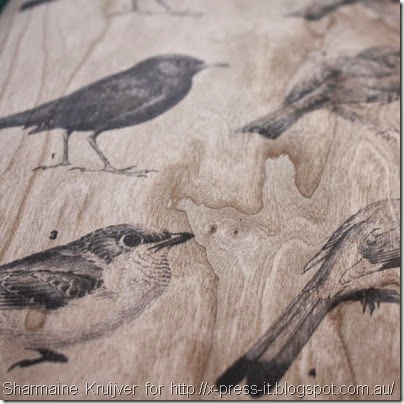
First step was to cut a piece to A4 size and run it through my printer.
It cut just like butter. I was afraid it might “shatter” but it didn’t.
I thought the printer ink might smudge. It didn’t.
IMG_5278
Free Printable found
HERE

I cut out one of the images and decided to make a journal page with it.
(You can read more about that on my blog).

IMG_5279

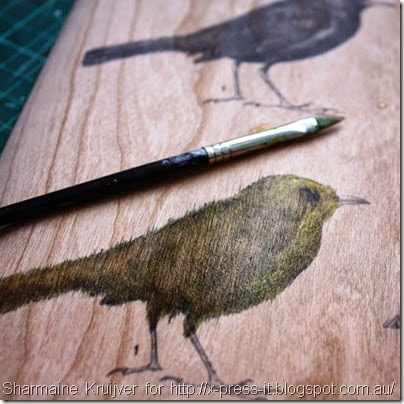
I used one of the images and painted over it with some water colour paint.
I love the way the printer ink feathered out as it bled through the wood grain.

IMG_5284

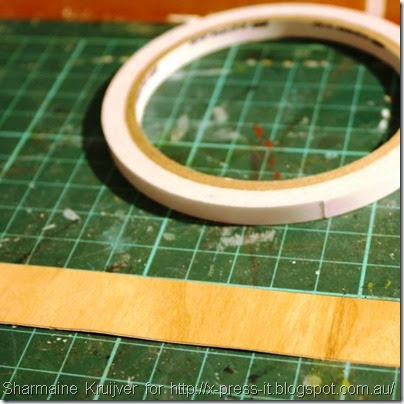
Now because the Sticky Barc is adhesive I thought it would make great deco tape.
I cut off a scrap and stuck it flat using some double sided tape.

IMG_5302

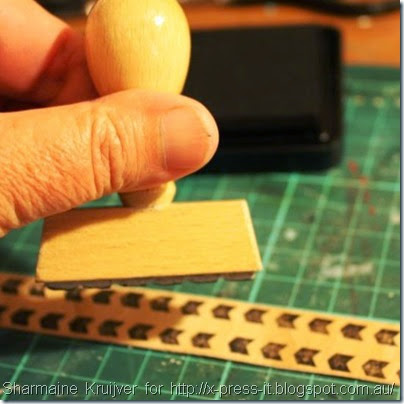
Then I simply stamped a repeated pattern over the Sticky Barc.

IMG_5303

Easy as that!
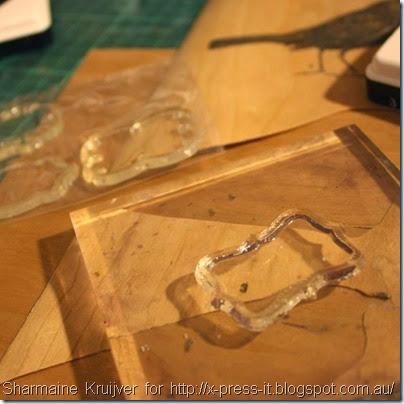
Another gift idea that was a great way to use up the leftovers was to stamp a tag shaped stamp onto the Sticky Barc.

IMG_5304

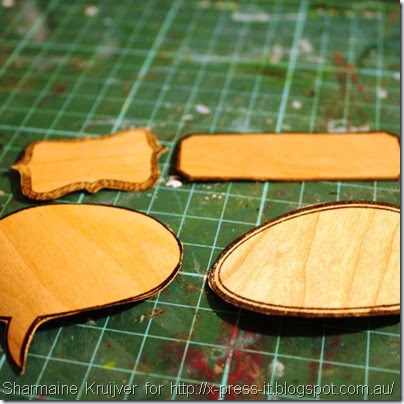
I then cut out the shapes and they were ready to be used.
You could write on them, run them through the typewriter or printer, or add some alpha stickers.

IMG_5307

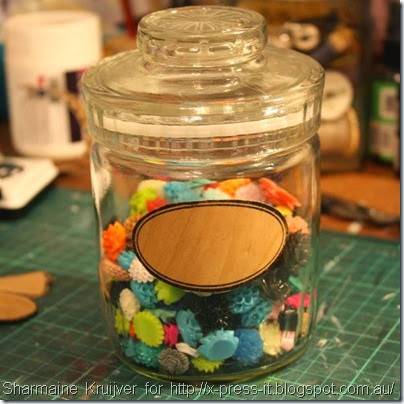
Great for gift tags or labels on bottles (the adhesive backing makes it super simple for that!).

IMG_5314

You could emboss some too or even use a die cut machine or electronic cutting machine to make other amazing die cut shapes.
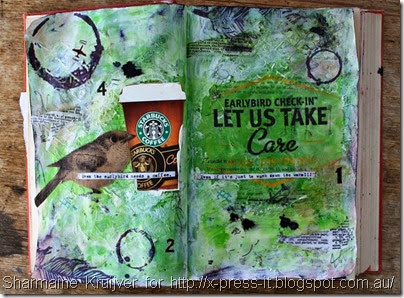
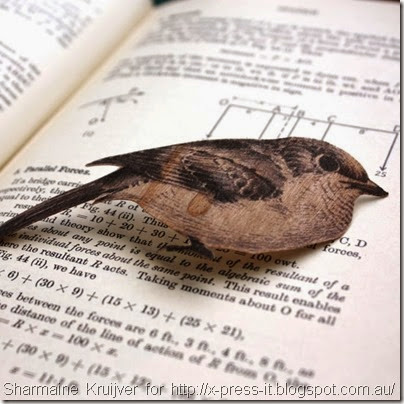
Here is the journal page I made using the bird image that I printed onto the Sticky Barc.

SharmaineKruijver_XPressIt_ArtJournal

Hope you give Sticky Barc a test run too. It’s fun medium to play with.
Have a creative week
Sharmaine.

Pin It

Wednesday, November 5, 2014

X-Press It: Glitter Paint

Today's tutorial takes us to a place close to many hearts…. glitter!  I am sure we all have a little, or not so little, stash of glitters in our drawers, some perhaps even unopened like the glitter I unearthed to make Glitter Paint!  It is a given in life, that all things are easier with X-Press It TripleTac, and in this case there is no need for expensive glitter glues, just supplies on hand and your trusty TripleTac… here is what I started with today:


You have seen me transform chipboard with Copic Markers before, below is the standard treatment of colouring the chipboard directly with a marker that co-ordinates with your patterned papers:


But when you are getting shabby, you don't necessarily want a matt coloured piece of chipboard, so get your TripleTac out and find a little dash of co-ordinated glitter, I use equal quantities of both, but you can mix the density of the glitter by changing the ratio of TripleTac to Glitter:


Simple mix the two together with a paint brush, the glitter paint will look milky as the TripleTac is white until it dries:


The it is a simple case of using your paint brush to apply the Glitter Paint to your pre-coloured chipboard, with this density of Glitter Paint I needn't have coloured the base first, but I always like to give some assurance just in case any little pieces are peeping through:


Disburse some of the left over Glitter paint on your planned embellishments and card layers, it helps to tie in the elements:


Then it is a simple case of putting your elements together on a card front:


From bland to glam in a matter of minutes:


Here are the X-Press It Products I used in my tutorial today:

X-Press It TripleTac Glue
FabScraps Crafty Girl Die Cut Chipboard
FabScraps Industrial Chic Collection


Pin It