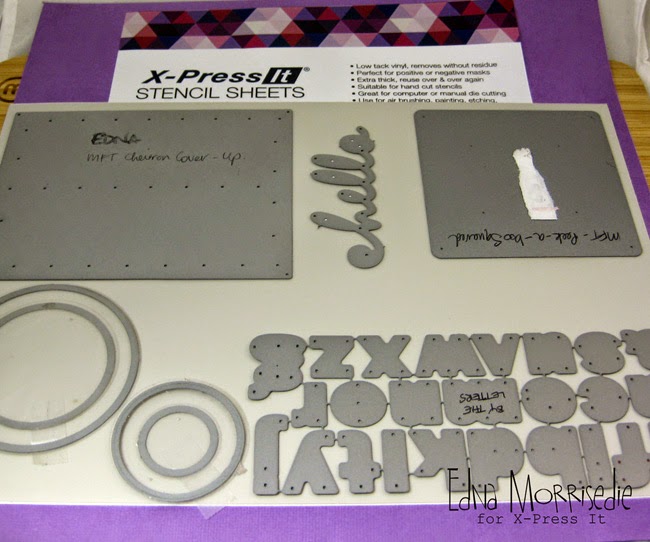
Today is the day that we share the wonders of X-Press It Stencil Sheets which are low tack vinyl sheets that can be used to build masks of your own choosing, it comes in single sheets, perfect to give this great product a go:

Hand cut negative and positive space masks or do what I have done in today's tutorial and put your abundance of die cuts to good use! I have planned my dies out to cut in one pass, but you can cut as you go as well:
The absolute BEST thing about X-Press It Stencil Sheets is the low tack backing, that allows you to stick the stencil to your project and not worry about leakage when you are drenching with coloured sprays, or spray paint or the like… the tack provides a solid barrier to your card stock, and ensures a clean line, something that can't be achieved with plastic stencils, or a simple cardboard die cut, look at the great results with the chevron background die below. The die cuts through the stencil sheet, and if you are careful with your sandwich width will save the backing sheet, otherwise you can store on a transparency sheet:

I have used the positive space for this project, but you could also use the chevron strips as well, place directly onto card, and a simple press connects the low tack backing to your project:

Mist up with a spray, and because it has good connection with the card you don't need to worry about puddling the spray:

Pat off excess, or dry gently with a heat tool:

Peel the mask back to reveal the stencilled design:

Continue to build colour with different masks, these next masks are circles made from stacked circle dies, very simple and easy to use time and time again:

The stencil sheet is flexible enough to overlap and still provide good connection with the base card of your project:

Spray a contrasting colour, this time leaving different consistency of colour across the project, so that you can see puddles of red/pink, and also still see the yellow chevron poking through:

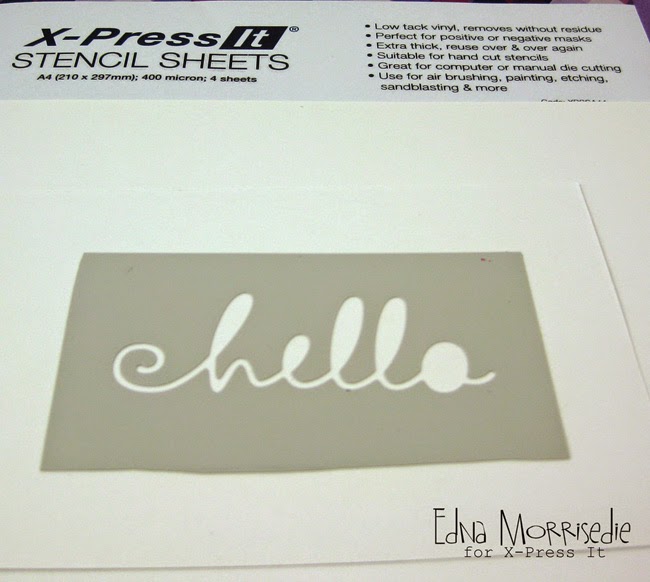
Don't be afraid to cut fine dies and put them to use, in this example I have used the negative space from a hello die to build a label, make sure you leave a generous border around words that you intend on using the negative space… and keep the positive space hello for future use:

Straight onto a piece of scrap card with plenty of room for the whole stencil:
Spray, and then cut out with another stencil to build a little sentiment banner:

Stencils and simple white card, can turn into a good splash of colour…

X-Press It Stencil Sheets will work with sprays like I have used today, but also any other wet or dry medium… try your copics, airbrushed copics, liner pens, crayons, watercolours, the list is endless!

I hope you have enjoyed this little tutorial on using X-Press It Stencil Sheets with your die cuts… it's time to get colourful!
Pin It
I would like to say thanks for your sharing this useful information. Nice post keep it up. Hope to see you next post again soon.
ReplyDeleteWith Regards,
White Card Training Courses in Sydney